6 Simple Steps - Easy Peasy.
This simple DIY herb garden will add a touch and look of spring. With just a few materials and easy peasy steps, you’ll have all your favourite herbs within reach while making your favorite meal or refreshing drink. Here are what you will need to get started.
Materials Required:
- Mason jars or pots of your choice
- Decorative stones
- Activated charcoal
- Potting soil
- Seeds or seedlings

1-2-3 Let's Get Growing
Cover the bottom of a mason jar or planter pot with a layer of decorative stones or rocks from your backyard. This will make sure your garden has proper drainage.
Sprinkle a layer of activated charcoal over your stones. This helps to keep herbs healthy and your soil clear of mold and odours.
Fill the jar or pot halfway with potting soil, make sure you leave enough room to plant your herbs. If you’re using seeds instead of a seedling, fill the jar almost completely, as you will just make a small hole to pop in the seeds.

Plant, Water, Grow, Eat!
Place your herb in the soil and gently push it until the root is covered entirely, gently patting the soil around the herb. If you’re planting seeds, sprinkle several in the center of the soil and add some more soil over top. Water when done, but do not make mud.
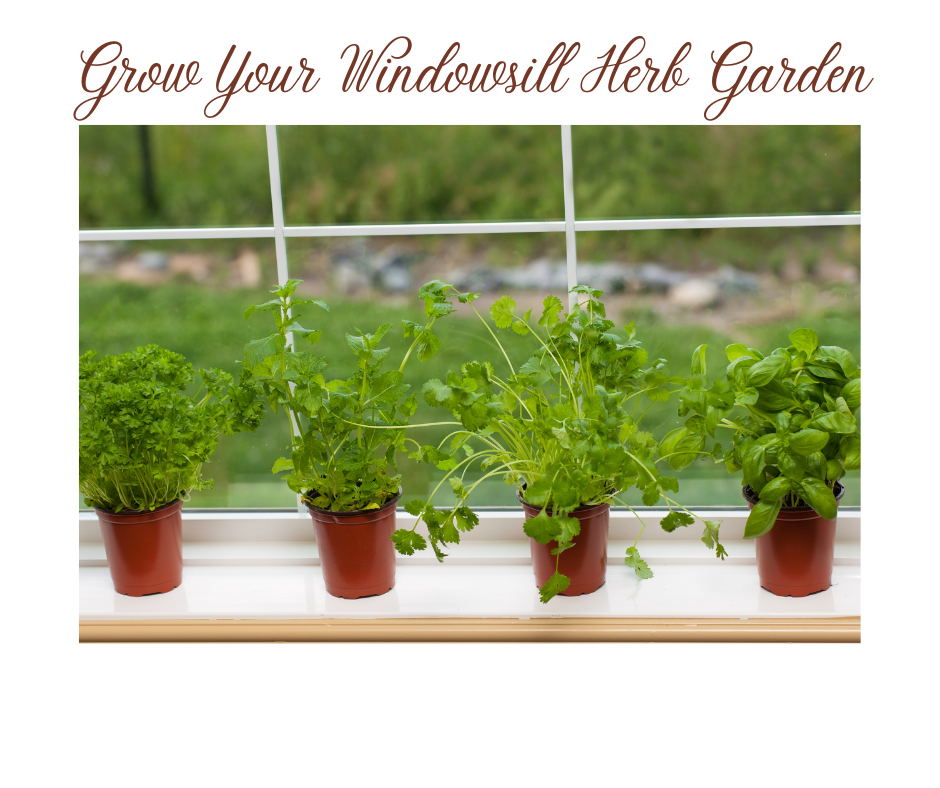
Place your herb garden on a windowsill or sunny kitchen island or countertop. You can also display the jars on a wooden crate or wire basket to add a touch of summertime fresh to your space.
For an added touch add some string or burlap around the jars or pots, get some funky chalkboard stickers from your local craft store to add names etc. This DIY Project let's YOU do YOU! Let your creativity shine though.

Enjoy!
Bog written by Laurie Turmel for City Furniture & Appliance Ltd.


